April 14, 2020
Model Shark for Dark Shark
Modeling in Maya 2019
Modeling a Shark – Pt 4
By: Dan Pejril
Summary
I followed parts 4 and 5 of this tutorial series on Youtube to guide my process for making my shark model for the Dark Shark project. Part 4 helped me with finding a way to mirror objects in Maya to create the pectoral fins for the model. The approach they used was to delete half the faces of the model to then duplicate the remaining half with “Duplicate Special” and scale -1.0 in the x. This way anything done on the one half of the model was duplicated on the other side.
Part 5 got more into creating the mirrored objects and merging it back together. After creating the pectoral fins, they then needed to combine the two halves back into a single mesh. This was done with “Combine”. This unites the individual meshes into one, this however does not really modify the verts and edges. To complete the combination, they used a “Merge” to join the verts and edges that are very close together. This properly completes combining the mesh.
Results
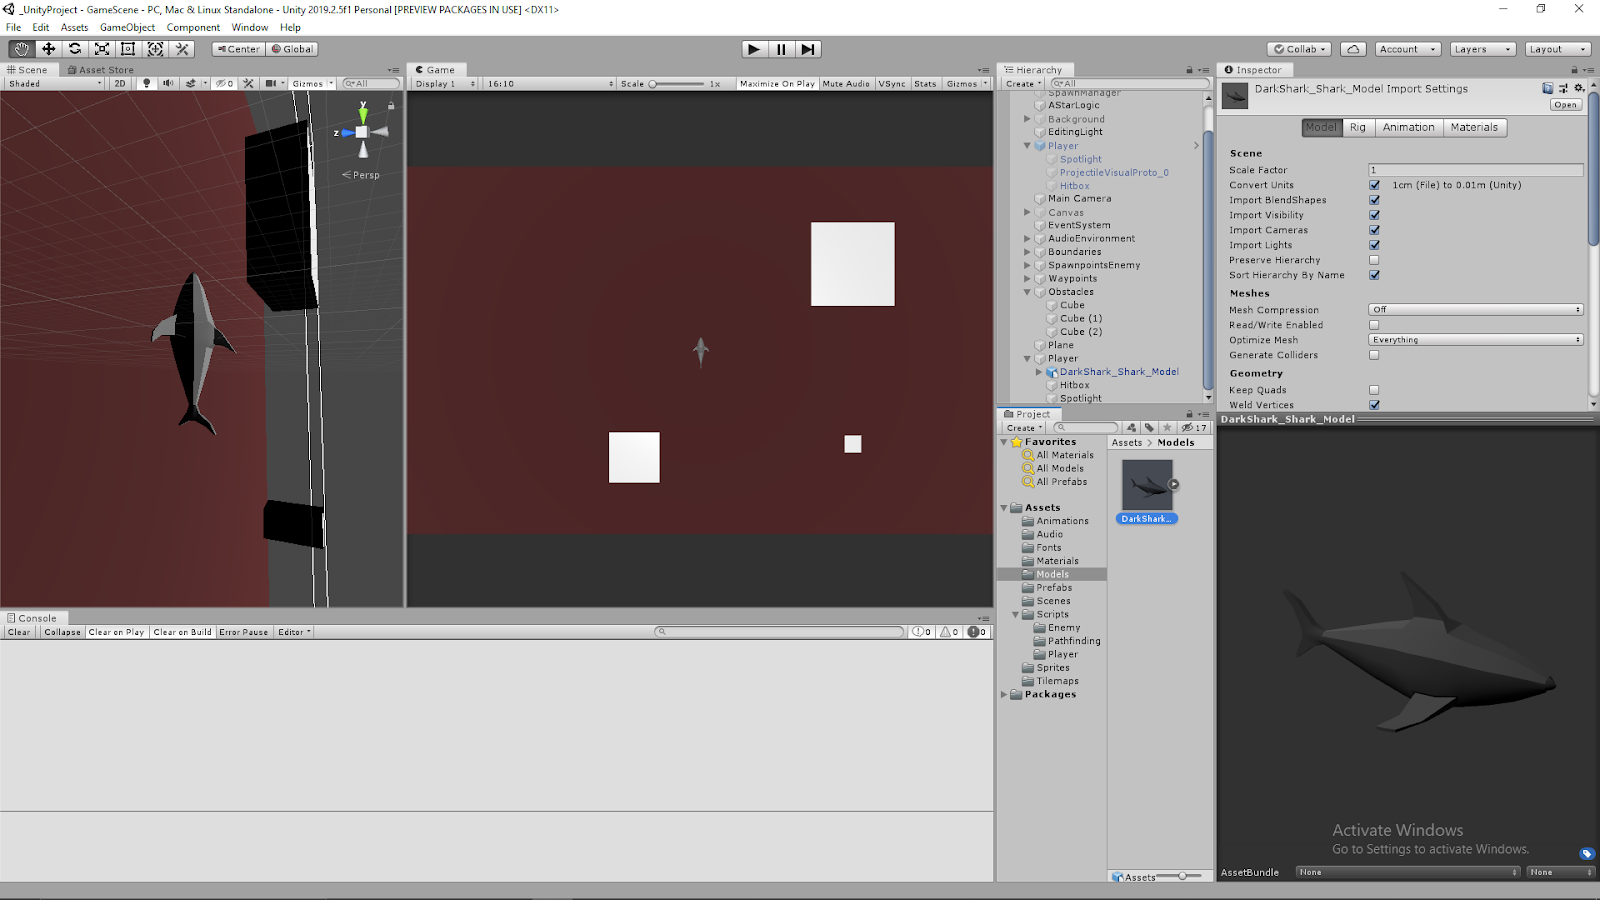
I was pretty happy with the results since I had not modeled in a while. I was just looking to make a simple, low poly, prototype model for now that I could just use as an effective place holder for now in the transition to make my game project in 3D. My Dark Shark project uses the orthographic view from the top, so the character silhouette from the top view is the most important so I focused on making that stand out and look nice. I am still working on how to cleanly represent the dorsal fin and tail fins in this view, but I made sure the pectoral fins were clearly visible to really drive home the imagery of a shark.