April 9th, 2018
Science of Sound for Coral Invasion Game Techniques
This site has a lot of basic information on how sound works, especially underwater with sea animals.
This site has a lot of basic information on how sound works, especially underwater with sea animals.
Wiki Page for Shooter Genre Shooter Game – Subgenre: Shoot ’em Up
“Shoot ’em ups are a specific subgenre of shooters wherein the player may move up and down and left and right around the screen, typically firing straight forward.”
Top Down Shooter: “(sometimes referred to as twin-stick shooters) where the levels are controlled from an overhead viewpoint”
Game may also benefit from being categorized as strategy, or potentially puzzle. These two genres help drive the idea that the game may not be pushing the limits of speed, and will be played in a slower and more tactical way than a general shoot em up. This can be useful for rounding out another view on the way the core gameplay can be implemented.
Armed to the Gears Link to steam pageThis game has the player move throughout the level/world, shooting many enemies in a top-down fashion. The player is a very strong robot (could use idea that player is very durable/invincible to focus on other parts of gameplay). Has turrets the player can place down to aid them (has light outline of range to show what the turrets can reach at all times). There are many different types of enemies and weapons for the player.
Blacksea Odyssey Link to steam pageFast paced game that is still focused on the player surviving more than how they use their projectiles. There is some interesting use in the placement of projectiles as shooting boss enemies in certain locations allows you to dismember them (getting into strategic placement of the player’s weapons).
Tactical Link to steam pageMedium/slow paced top down shooting and puzzle/strategy game. The player must kill enemies by shooting them from behind while remaining undetected. Killing an enemy alerts the other enemies and will affect their movement patterns. Player succeeds by killing all of the enemies in the fastest time.
Ripple Effects | Unity Particle Effects | Visual FX Tutorial – Youtube
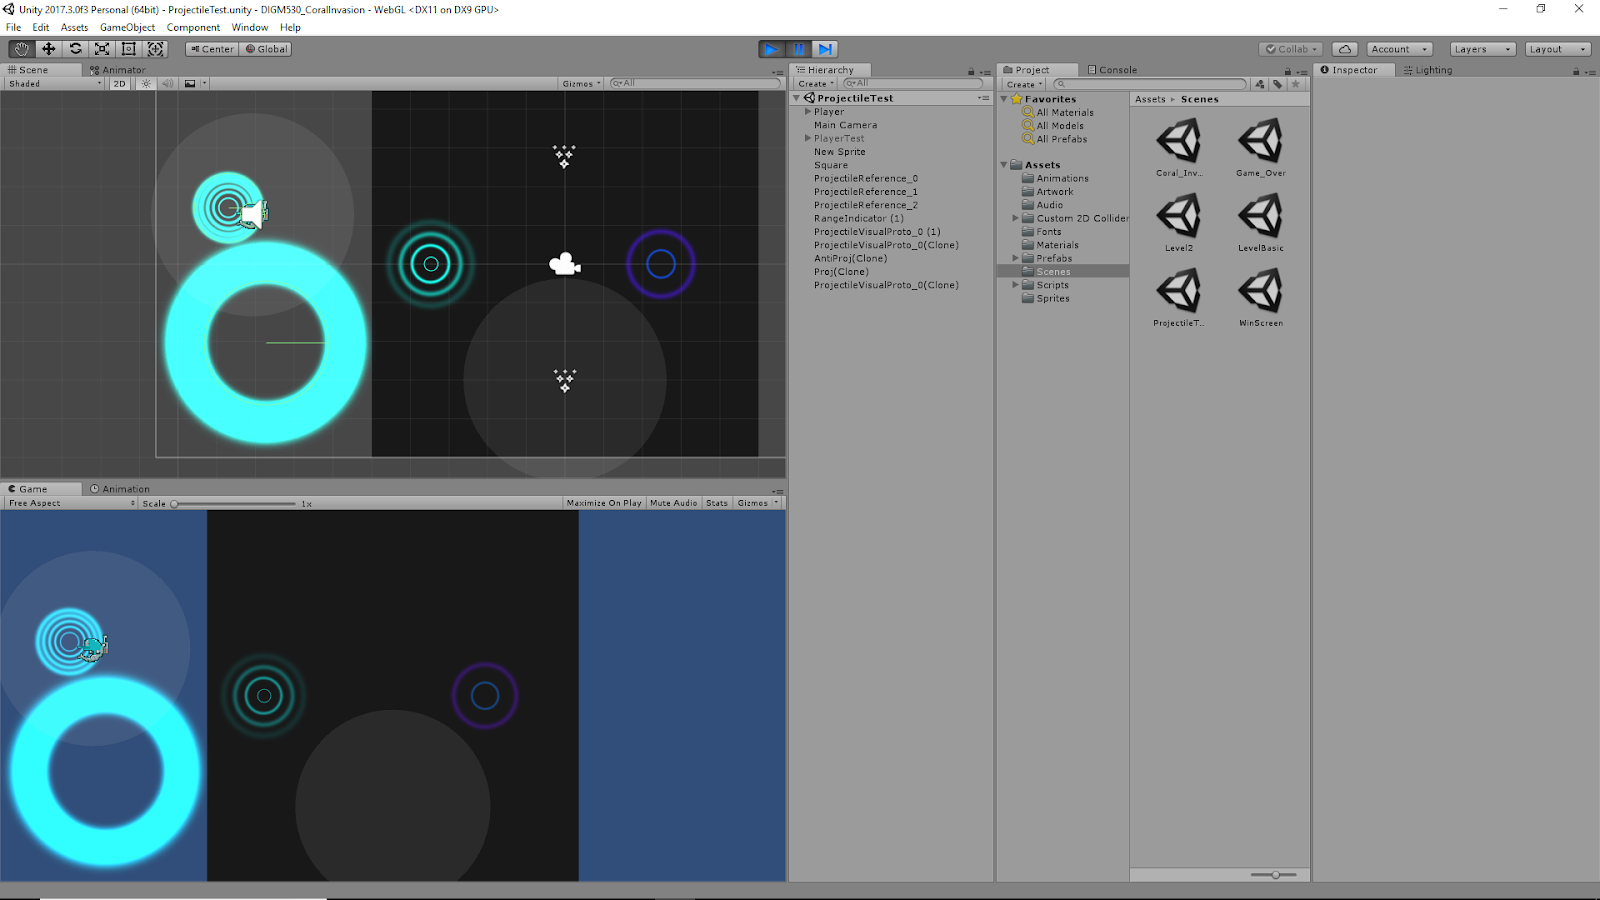
This video is a tutorial on setting up a basic ripple effect using the particle effects given in Unity. This serves as a basic introduction to some of the different parameters of particle systems. This was useful in setting up the visuals for the projectile in our DIGM 530 project Coral Invasion.
Video of Projectile in Motion with Audio
Make A Sprite Flash? – From Unity
The GameObject should now flash when this state is activated by the animator.
Creating 2D Sprites in Unity
EZgif.com – Site for Generating Sprites from .GIF Files
Setting Up Colliders for 2D Objects
Important take away from this link from Zaladur:
“I add an empty child to my characters called “Hitbox” and add a box collider to it, and set it to a Trigger. The Hitbox can be its own layer, and handle collisions with things like bullets, fireballs, or other players or their hitboxes. Meanwhile the parent retains the character controller to handle movement and collision with terrain, obstacles, etc.”
“Having the hitbox as a trigger allows you to pass through other players while still generating an OnTrigger events so that you can react to hitting an enemy. Just make sure you remember that the Trigger collider is the Hitbox, so you should act on collider.parent if you need to access the actual character.”
This suggest for 2D game objects, one way to setup colliders is to have your physical collider (non-trigger collider) on the main, parent game object. Then, create a separate game object (called “Hitbox”) as a child to that main gameobject, and give this object a Trigger collider. This gives the overall system of objects a collider that will interact with the environment (walls, ground, other physical bodies if necessary) as well as a separate collider to determine events that occur when certain types of objects collide. This is partnered with labeling the parent collider and the child collider with different layers and/or tags, and use of the 2D collision matrix, to decide if objects physically collide and/or if an event occurs when they collide.
Example from Coral Invasion currently: Wanted the player to take damage when “colliding” with an enemy, but did not want a true physical collsion to occur. The player and enemy parent game objects have non-trigger colliders, with rigid body components, while their layers are “Player” and “Enemy” respectively. The collision between the layers “Player” and “Enemy” was deactivated in the 2D layer collision matrix. The child objects of these two game objects were each given trigger colliders. The “Player” child was given tag:”Player” and layer:”Player”, but the child of the “Enemy” object was given a tag:”Enemy” and layer:”Default”. As long as the layers were not “Player” and “Enemy”, this allows some type of collision to occur, as that was the only type of collision turned off. Here we have a “Player/Default” collision now. The Enemy child having the tag:”Enemy” was necessary for the OnTriggerEnter2D scripting of how the player object determined if it took damage (this was also why the tag:”Enemy” was removed from the parent Enemy object, as this appeared to be making the player lose double the health upon collision). This all came together so that the player would take damage when colliding with an enemy, but not create any true physical collision of the objects.
Some further investigation of exactly how this works is needed as the fact that the player was taking double the damage before changing the tag of the Enemy parent object suggests that the player child object was still picking up a collision there, even though it should have technically been a “player/enemy” layer collision. May have something to do with one being a trigger collider and the other being a non-trigger, but unsure.