March 25th, 2018

Update on Gear Mesh Generating Toy

Link to Web Build of Prototype Currently

Current Controls
  • Left Mouse Button – Press: Select a gear to make it active
  • Let Mouse Button – Drag: Move selected gear around
  • Left Mouse Button – Drag + Spacebar: Destroy selected gear
  • w : makes the gear spawning object the active object (instead of any gears)
  • Typing in input fields: Changing the number in this input field will alter the corresponding parameter of the currently active (selected) object.

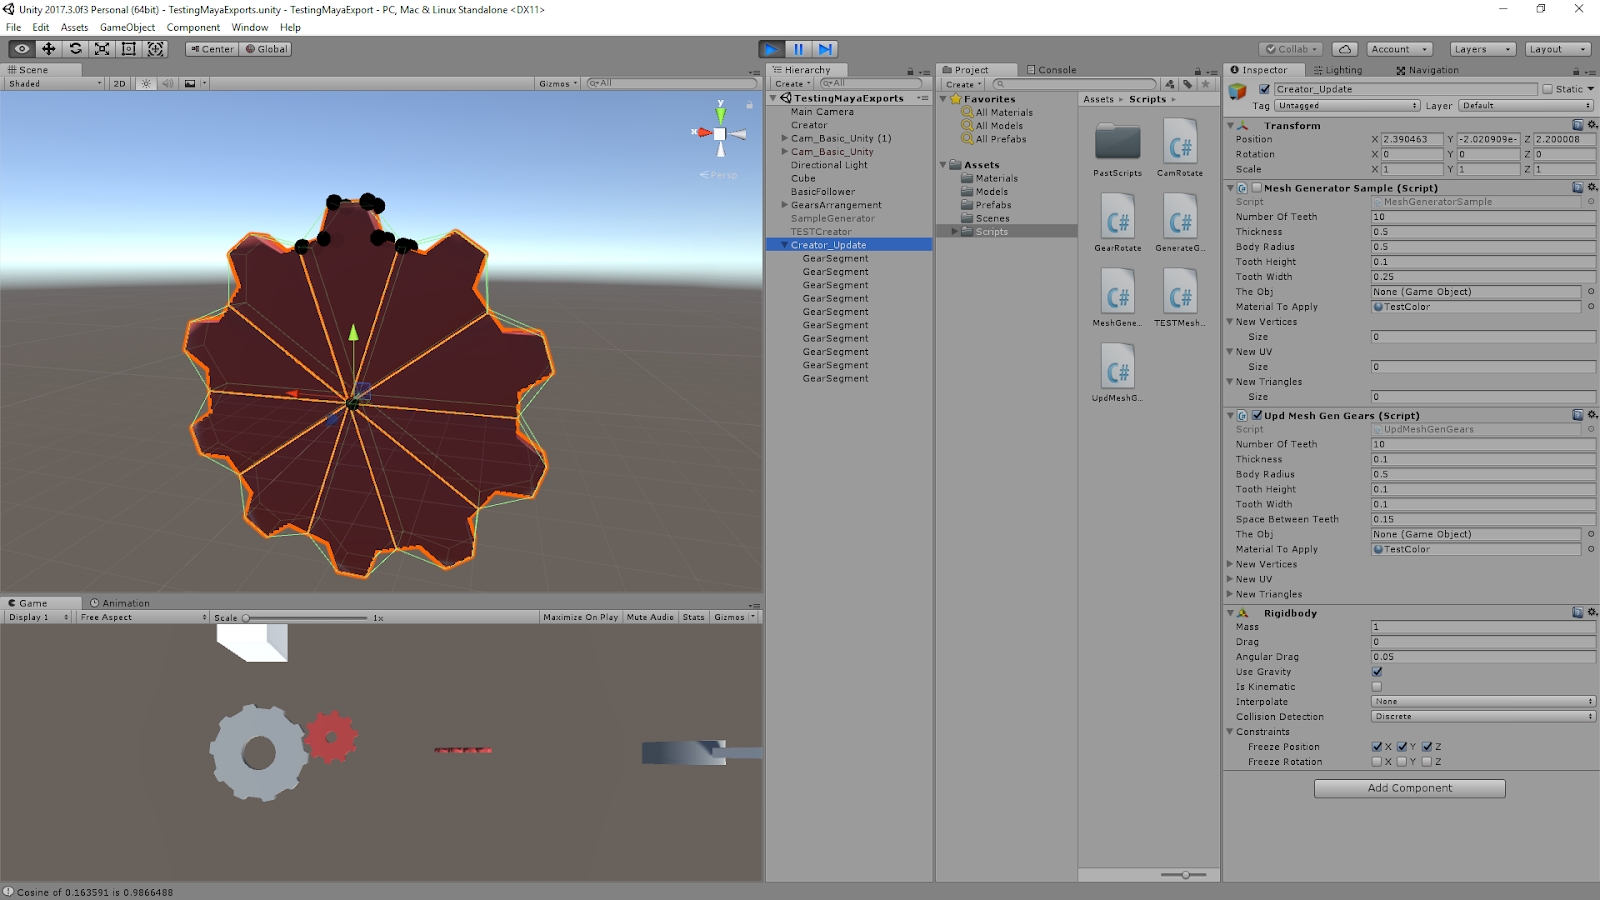
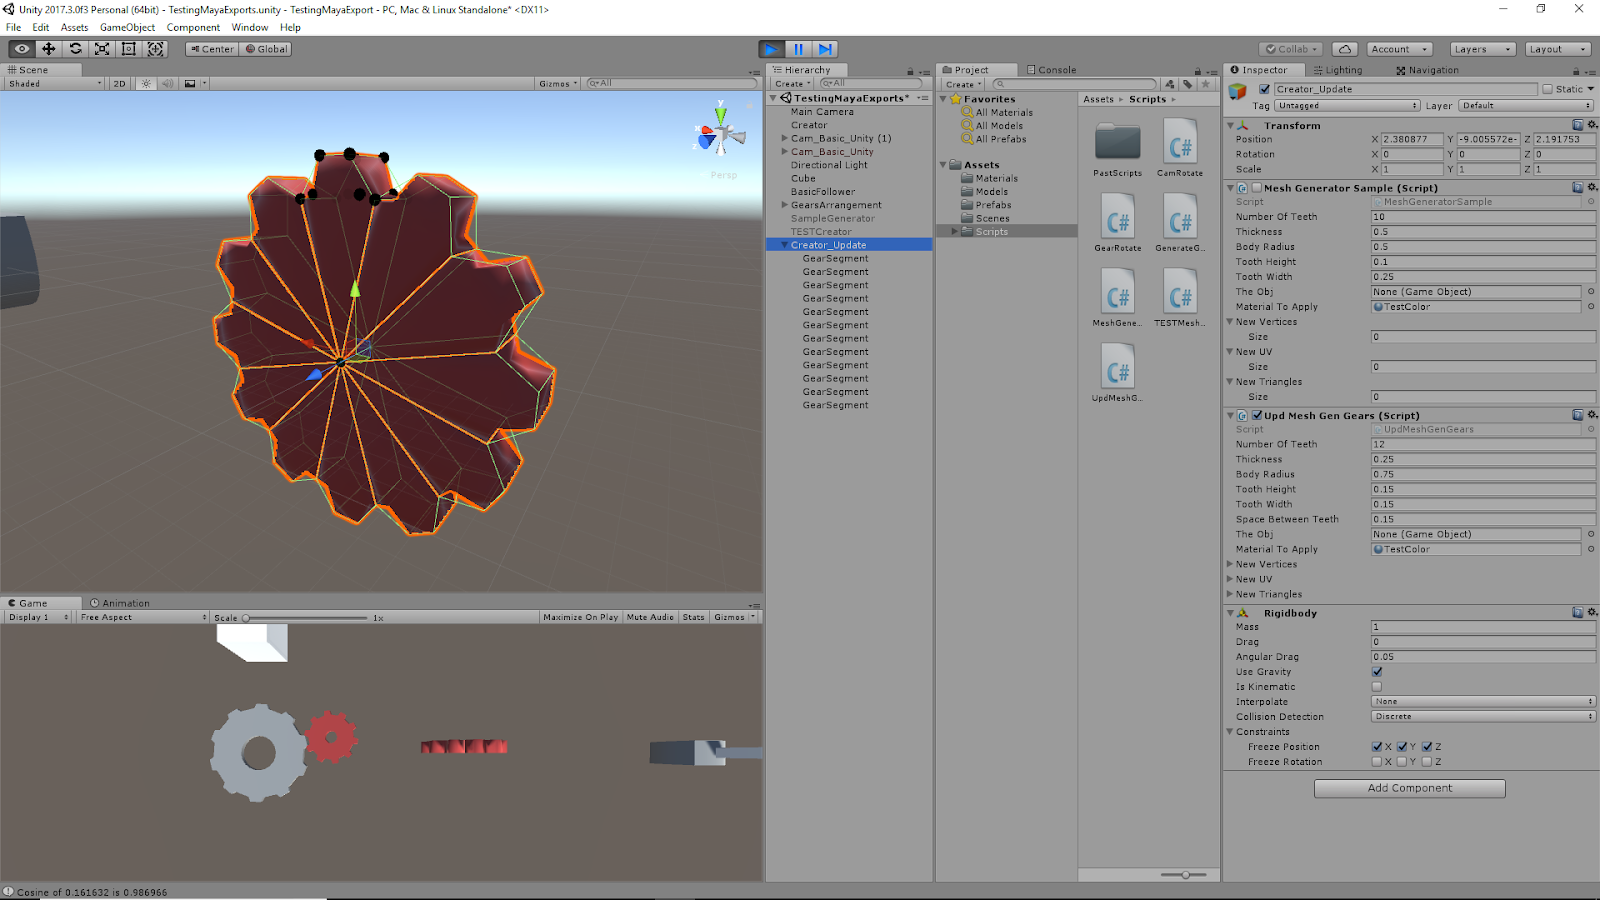
Selecting a gear and changing the value in the input field will immediately change that corresponding parameter on that gear. For example, if you left click a gear, then type the value “1” into the “Body Radius” input field, that gear will have its body radius value immediately change to 1, and its mesh and colliders will update along with it.

There is an invisible gear spawning object (“gear spawner”) that creates a gear when the “Create Gear” button is pressed. The gear created will have values based on whatever the spawner’s current values are. To change the spawner’s values, the spawner must be the active object. This is where the “w” key control comes in. Once the player presses “w”, as long as they don’t left click another gear in the mean time, changes to the input field will become the values of the spawner. Then the next time the “Create Gear” button is pressed, it will use those updated spawner values to create the new gear. This gear can then be altered as any other gear.

Current Issues to Avoid

The input fields do not show the values of an object when it is selected. This can be a bit confusing since it makes it hard to tell what the currently selected object’s values are, unless the player just remembers them. This is something that would be crucial to update as there is currently no way to actually see the current values.

The spawner does initialize at all values of “0”. Just be aware that if you try to create gears before changing the spawner’s parameters, you will be creating invisible empty objects.

When attempting to update the spawner, make sure to press “w” before changing any values in the input fields. This was something I found myself messing up a lot, and would be a feature to improve in the future. Again, make sure to press “w”, and not click any other gears, before changing the input fields to update the spawner’s values.

March 19th, 2018

Real Time Updating Gear Mesh – PROTOTYPE

Prototype – Real Time Gear Mesh Editor

This example build shows the real time updating capabilities of the current scripting behind the gear mesh creator. This also has some of the functionality of the original build, but that part is buggy when trying to tie it in to this current build. This build is solely to show that the real time editing of the mesh does work with the current script structure.

There is still significant work needed to combine this real time updating feature with the effective gear generation coding to create a single, cohesive build of all the elements.

March 12th, 2018

Prototype of Gear Mesh Creator in Unity

Gear Mesh Creator Protoype

This is a very bare bones version of the gear mesh generator in Unity. Enter values into all of the parameters on the left side of the screen, then press “Create Gear” to generate a gear with those parameters. Clicking and dragging a gear allows you to move it around on the xy-plane. While dragging a gear, press space bar to delete it.

The scripting allows for the functionality of real time updates to the mesh and colliders of the gears, but I was unable to implement a player based way to use that that. While editing the values in the Unity editor, it will change the shape in real time. This action just needs to be translated to the build side. I will be looking at something where clicking a gear selects it, then the parameters of that gear will fill the boxes on the side, and when the player edits them, they will see the changes immediately on that gear. Then there will be a separate way to access the parameters when needing to create an entirely new gear.

March 10th, 2018

Working with Meshes Via Scripting in Unity

Creating a Game Object and Mesh at Runtime
Tutorial Series – Moving Mesh Vertices at Runtime

This short video shows a very basic way to manipulate existing vertices. It simply moves a few vertices along their normals in a sine wave type pattern.

Writing to .CSV Files with Unity Scripting

How to write data to CSV file in UNITY

Printing out arrays of data to .CSV files can be useful when creating large arrays of data for things such as vertices and tris as it can give you a better way to figure out where errors are occurring.

Using InputFields with C# Unity 5.4 (Basic Tutorial)

This video shows the most basic use of input fields in Unity. This may be a direction to take to connect the player to the variables in the gear mesh editor.

Basic UI Functionality – Interacting Directly with Game Objects Unity

Unity 5 UI Tutorial – Input field and event handlers

This video is in the middle of a series by this author on some basic UI functions within Unity. These UI elements focus on types which the player can interact with, and they will cause some change in the game (as opposed to more static UI elements that just show values for things such as score or lives). This can prove useful as a simple way to give users access to the parameters of the gear mesh objects.

March 5th, 2018

Examples of Progress with Gear Mesh Generator in Unity

The approach for creating a full gear mesh in Unity was to create a single section of a gear with one tooth with the given parameters/dimensions, then replicate this a number of times equal to the total number of gear teeth and rotate each of these instances appropriately to create a single full gear. An extra bit of scripting was added to place small black spheres around the vertices of the first gear segment created, to highlight the locations of the created vertices.

The prior setup was tweaked to account for the control of spaces between the gear teeth. This appears to have made the instances of the meshes concave in some manner though, so the convex mesh colliders do not completely accurately follow the model around the teeth now. Another technique will be looked into to prevent this from happening.

Parameters:
  • Number of Teeth: 10
  • Thickness: 0.1
  • Body Radius: 0.5
  • Tooth Height: 0.1
  • Tooth Width: 0.1
  • Space Between Teeth: 0.15
Parameters:
  • Number of Teeth: 12
  • Thickness: 0.25
  • Body Radius: 0.75
  • Tooth Height: 0.15
  • Tooth Width: 0.15
  • Space Between Teeth: 0.15

Video Demonstrations of Gear Generation Script at Work

Shows Physics of Full Gear Mesh

As can be seen from this video, the full gear mesh acts as one object even though it is made of several individual objects each representing a gear segment. It also shows that it has basic physics function within Unity’s game space.

Shows Changing Parameters to Create Different Gear Shapes

This video shows directly how changing the parameters of the script relates to changes of the resulting gear mesh. Currently, all the work is loaded at the start of the scene. Further work will be done to translate this to something that can be edited real time.

Current Equations for Determining Geometry of the Gear Mesh – Shown for Creating Single Gear Section

Parameter Equations
  • angleForSpaceBetween = Mathf.Asin(spaceBetweenTeeth / (2 * bodyRadius));
  • angleForSpaceBetweenDeg = Mathf.Rad2Deg * angleForSpaceBetween;
  • distanceToCenterOfSpace = bodyRadius * Mathf.Cos(angleForSpaceBetween);
  • angleBetweenSections = 360 / numberOfTeeth;
  • halfAngleBetweenSections = angleBetweenSections * Mathf.PI / 360 – angleForSpaceBetween; // Cuts in half and converts to radians
  • cosineTheta = Mathf.Cos(halfAngleBetweenSections);
  • sineTheta = Mathf.Sin(halfAngleBetweenSections);
  • cosineThetaAlpha = Mathf.Cos(halfAngleBetweenSections + angleForSpaceBetween);
  • sineThetaAlpha = Mathf.Sin(halfAngleBetweenSections + angleForSpaceBetween);
Vertex Equations
  • newVertices[0] = new Vector3(0, 0, 0);
  • newVertices[1] = new Vector3(bodyRadius * sineTheta, bodyRadius * cosineTheta, 0);
  • newVertices[2] = new Vector3(-bodyRadius * sineTheta, bodyRadius * cosineTheta, 0);
  • newVertices[3] = new Vector3(-toothWidth / 2, bodyRadius * cosineTheta + toothHeight, 0);
  • newVertices[4] = new Vector3(toothWidth / 2, bodyRadius * cosineTheta + toothHeight, 0);
  • newVertices[5] = new Vector3(0, 0, thickness);
  • newVertices[6] = new Vector3(bodyRadius * sineTheta, bodyRadius * cosineTheta, thickness);
  • newVertices[7] = new Vector3(-bodyRadius * sineTheta, bodyRadius * cosineTheta, thickness);
  • newVertices[8] = new Vector3(-toothWidth / 2, bodyRadius * cosineTheta + toothHeight, thickness);
  • newVertices[9] = new Vector3(toothWidth / 2, bodyRadius * cosineTheta + toothHeight, thickness);
  • newVertices[10] = new Vector3(distanceToCenterOfSpace * sineThetaAlpha, distanceToCenterOfSpace * cosineThetaAlpha, 0);
  • newVertices[11] = new Vector3(-distanceToCenterOfSpace * sineThetaAlpha, distanceToCenterOfSpace * cosineThetaAlpha, 0);
  • newVertices[12] = new Vector3(distanceToCenterOfSpace * sineThetaAlpha, distanceToCenterOfSpace * cosineThetaAlpha, thickness);
  • newVertices[13] = new Vector3(-distanceToCenterOfSpace * sineThetaAlpha, distanceToCenterOfSpace * cosineThetaAlpha, thickness);