Doppler Effect in Mario Kart – Game Audio – by Scruffy

July 1, 2021

Doppler Effect and Audio Controller

Game Audio


Title:
Mario Kart and the Doppler Effect

By:
Scruffy


Youtube – Information

Description:
Explanation of how Mario Kart creates the doppler effect and efficiently distributes audio to multiple players.


Overview

This video covers how Mario Kart Wii specifically uses the doppler effect, as well as just how some of their audio systems work in general. It is decent coverage of how to implement a basic doppler effect system into a game in general.

Fig. 1: Image from “Mario Kart and the Doppler Effect” Video Above by Scruffy

Setup of Doppler Effect System

The key is the relationship between sound frequency and relative velocity of objects. Their approach to measure this is just by measuring the distance from the audio source to the audio listener each frame, and if there is a difference, that is used for a relative velocity term. This relative velocity term is bound to some negative and positive scale (one direction meaning higher frequency and the other being lower frequency). The way this relative velocity maps to a difference in sound frequency can use any mathematical relationship to fit whatever feels best (i.e. linear, logarithmic, etc.).

They break this core down into three basic steps:

  1. Get distance between source and listener each frame
  2. Subtract from previous for rate of change
  3. Map rate of change to determine sound playback speed (to taste)

Expansion of the System and Efficiency

This explanation shows the direct relationship between an audio source and an audio listener, but games tend to have many audio sources. They show how immediatley this can at least be simplified by having some audio distance so the calculations only need to be performed on objects within a certain distance of the listener. The other big part of simplifying the system is just limiting which sources implement the doppler effect. Not every sound needs to use this, so it can be removed from many standard sources (i.e. the crowd in Mario Kart).

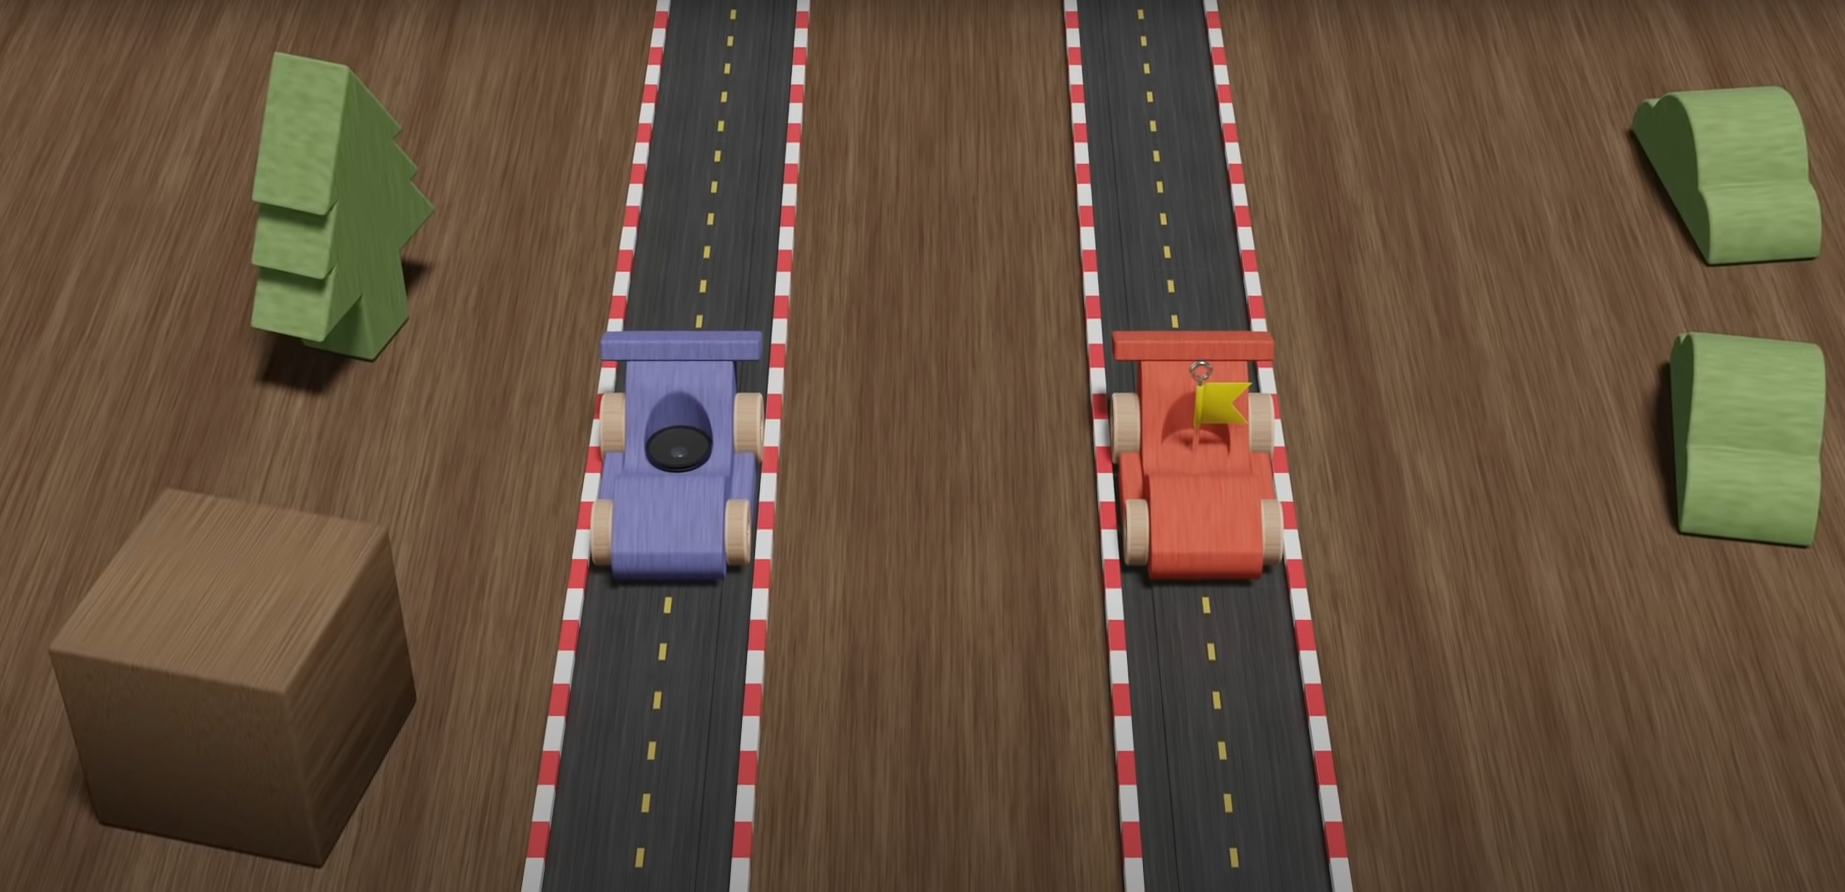
Split Screen Solution

This is fairly niche, but still interesting. With split screen, the audio of multiple listeners needs to come through a single audio output. Since they may experience different levels of the doppler effect for the same audio sources, they needed a solution to provide an experience that does not sound like a mess. Their approach was that each player only makes sound in their own camera (so one player is not listening to the other on the same screen), and when dealing with outside sources, only the player closest to the audio source is taken into account. The other player’s audio for that source is simply negated. This is a nice solution as the system already takes the distance between sources and listeners into account anyway.

via Blogger http://stevelilleyschool.blogspot.com/2021/07/doppler-effect-in-mario-kart-game-audio.html

Wwise Integration with Unity

March 10, 2019

Using Wwise with Unity

Game Audio

Youtube – Wwise and Unity: Getting Started with Unity & Wwise, Part 1
Youtube – Wwise and Unity: Ambient Sound Sources, Part 2

By: WestSideElectronicMusic

Wwise is a powerful audio editing tool specifically molded towards producing game audio. It also has strong integration with the Unity game engine that makes working between the two much smoother.

These tutorials help show the basic integration steps to make sure the two softwares can communicate with each other, and then starts to get into the basics of using WWise to produce interesting audio for your games. Between the two of them, we covered adding in a simple footstep sound effect and a torch sound effect.

The footstep audio was done to show the minimum required to add audio into Unity through Wwise. It was mostly important to note the need for creating audio effects in Soundbank objects in Wwise, then generating the objects to import into the Wwise editor in Unity. These objects then need to be placed in the Unity scene to actually be accessible as audio clips. The footstep effect will also be built upon in later tutorials to add some randomization as well as modifying the audio for stepping on different terrains.

The torch example got into some stronger features of WWise, focusing on 3D spatial audio and randomization. The fire sound effect for the torches could be made 3D, which allows it to have various audio effects depending on the distance/orientation of the object relative the player hearing it. We created a simple volume depreciation over distance with a distance cap, as well as adding a low pass filter to mimic the real world effect where lower frequencies are heard further away from an object than higher frequencies.

The torch example also got into the basics of creating randomization of sound effects. In Wwise, we created a Random Container object, which can hold several audio effects to randomly select from/play as well as modify randomly to give a play effect varied sound outputs. We duplicated our fire sound effect 3 more times in this container (4 in total), and just moved the starting/ending looping times of play in the different audio files to make them feel a bit different. We then also added a pitch randomized variation to one of these sound effects to give even more varied feels (I believe you can also have this on the Random Container itself to apply to all the objects, that might be what the tutorial wanted to do and just misclicked).

When you create these Random Containers, you just make sure to generate the Random Container object and use that as your audio clip. In Unity, you would reference the Container as your sound object and it contains all the information to produce random varied effects based on what you created in WWise.

Overall Wwise seems like a very powerful tool for creating audio effects for your games, especially in the Unity game engine as it has decent integration capabilities.

Audio Mixing Effects – Subtractive Synthesis and Phase Shifts

February 11, 2019

Reaper – Making Music

Audio Terms

Roland Blog – Guide To Subtractive Synthesis

This blog post has a very quick, basic description of a lot of subtractive audio creation methods. This covers waveforms: sine, sawtooth, square, and triangle; amplifiers with volume envelopes; and filters.

Making Music – Difference Between Phase, Flanger, and Chorus Effects

As the title describes, this covers the 3 effects: phase shifters, flangers, and chorus effects. They all deal with making duplicates of sounds but slightly offsetting them to create different effects.

Izotope – Understanding Chorus, Flangers, and Phasers in Audio Production

This is just more descriptive takes on the duplicating/phase shifting type effects. They also include examples where these effects are used in actual songs, as well as a lot of images to visualize how they work.

Learning Reaper – First MIDI Song

February 2, 2019

Learning Reaper

First MIDI Song

Reaper – First MIDI Song Tutorial

This was my first experience using Reaper software, learning to create MIDI audio files. There were some bumps getting started but it worked pretty well after I got going.

The first issue was since I use a Windows laptop it was recommended I get the ASIO audio drivers for working in a digital audio workstation (DAW). I did get those installed ahead of time and it was easy to set them as my audio drivers for Reaper, but it caused some issues since I didn’t fully understand it (and still don’t completely).

Using the ASIO drivers in Reaper made it impossible for me to watch the tutorial videos, as those videos had issues when they went to use the audio driver then. From my understanding, the ASIO drivers specifically make it so one specific program has full control of the audio drivers to help it accomplish its goals, a major one of which is reducing latency. The big latency occurs between playing a virtual instrument and the audio output of it through the software. I eventually just had to use some other audio drivers to mess around with Reaper and listen to tutorials on the same device (and found out quickly how annoying even a small latency is when trying to keep a rhythm).

The Reaper interface also took me a while to get a hang of. Unfortunately my setup and docking did not end up working exactly like the tutorial, which I figured was some issue from just version differences, so that actually took a lot more time to get into a manageable spot than estimated. I was never able to get the Mixer docked “above” the MIDI keyboard section, but I was finally able to get the Mixer to show one mixer track at a time after hours of messing around (turned out I just needed to change a “right click in empty space” setting pertaining to holding the width of the mixers.

After getting through all the initial setup pains, everything actually went really well. Importing the different instrument tracks and messing with the settings and playing them is intuitive and well labeled. I really like how structured you can touch up the tracks after playing. That was especially helpful since I had the latency (messing up the rhythm), and I was using a computer keyboard to play (which makes playing the correct notes pretty difficult). Both of these things and WAY more can be edited after playing to make perfect whole, quarter, eight, whatever notes and play them at the exact right beats.

SUMMARY

  • ASIO drivers are weird and demand focus from a single software (can use workarounds but hard to setup)
  • Try to keep your digital instruments together folder wise, but if you need different ones, makes sure to add other locations in settings
  • Mixer – Uncheck “Show multiple rows of tracks if size permits” if you want your tracks to “stack”
  • Reaper is pretty easy to just mess around with (lots of drag and drop and just playing)
  • Make sure to keep instrument files in same place, or add them to locations Reaper searches